All materials
-
The Most Convenient Note-Taking Apps
In our fast-paced world, note-taking apps have become essential tools for organizing our thoughts, tasks, and …

-
Blender: The Powerhouse of 3D Animation
Blender, an open-source 3D animation program, has been a game-changer in the world of digital art …

-
Top 5 Popular Themes for Mobile Games: A Deep Dive into Gaming Trends
In the ever-expanding universe of mobile gaming, certain themes have captured the imagination of players around …

-
Virtual Reality and Augmented Reality Experiences: Revolutionizing ...
In the realm of digital innovation, virtual reality (VR) and augmented reality (AR) stand as towering …

-
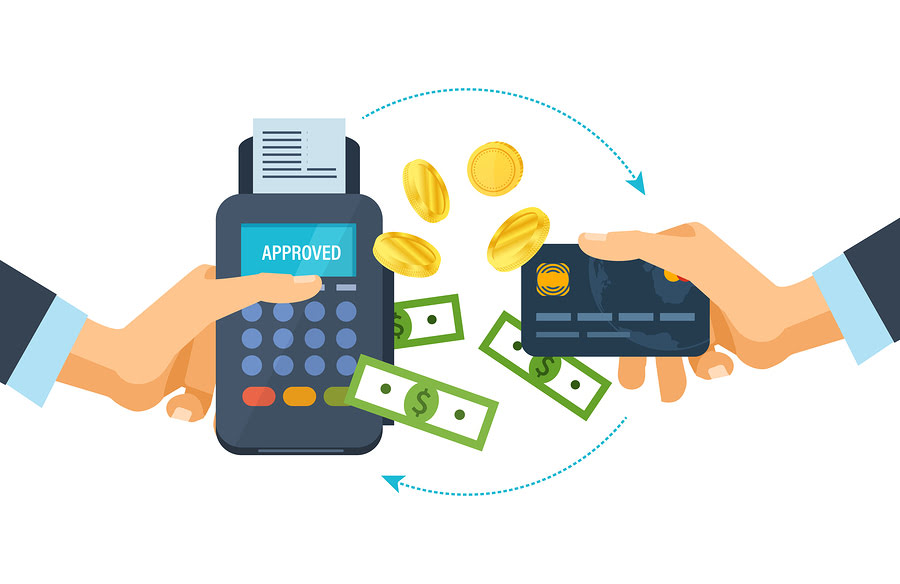
Top 5 Best Payment Systems for Gambling: Secure and Efficient Trans...
In the exhilarating world of online gambling, where players eagerly anticipate the Prank casino bonus, the …
-
In-Depth Review of Outbyte PC Repair: Optimizing Your Computer Expe...
Outbyte PC Repair is a comprehensive computer optimization program designed to improve the overall performance and …
-
Maximizing Online Casino Fun: PC Software Essentials
The online casino experience is not just about the thrill of betting or the allure of …

-
Macrium Reflect: A Comprehensive Overview of a Reliable Backup Solu...
Macrium Reflect has established itself as a robust and reliable backup solution for both personal and …
-
Bonus technologies in online casinos
The online casino industry has consistently been at the forefront of technological innovation, particularly in the …

-
Adobe Lightroom Review: A Comprehensive Look at the Photo Editing G...
Adobe Lightroom has become a cornerstone in the world of digital photography, offering a comprehensive suite …

-
Victoria HDD: Essential HDD Health Check Tool Explained
Victoria HDD is recognized as a top-tier application for assessing the health and performance of hard …
-
Safe Play in Online Casinos: Guarding the Virtual Fortresses
Online casinos have revolutionized the way we perceive and engage in gambling. With convenience at its …

-
AOMEI Backup Solutions: Safeguarding Your Digital Assets Across Dev...
In an era dominated by digital data, the importance of backing up our valuable information cannot …
-
Advanced Cyber Security Technologies
As the digital world expands, so too does the sphere of cybersecurity. Protecting data, assets, and …

-
Malwarebytes: The Shield Your PC Deserves
For anyone using a computer in today’s digital era, security is paramount. With rising cyber threats, …
-
Visual Studio Code: The Powerhouse Editor for Modern Development
The development landscape is brimming with tools designed to cater to every possible need of a …